Writing Knitting Patterns
Because my early pattern writing was for magazines and book compilations who all wanted something different, it took me a long time to realize that my independently published patterns should all have the same template and style. If knitters like your organization and style they will be confident that a newly published pattern will be easy to understand. Luckily I knew this by the time I started my book of 30 knitted blankets.
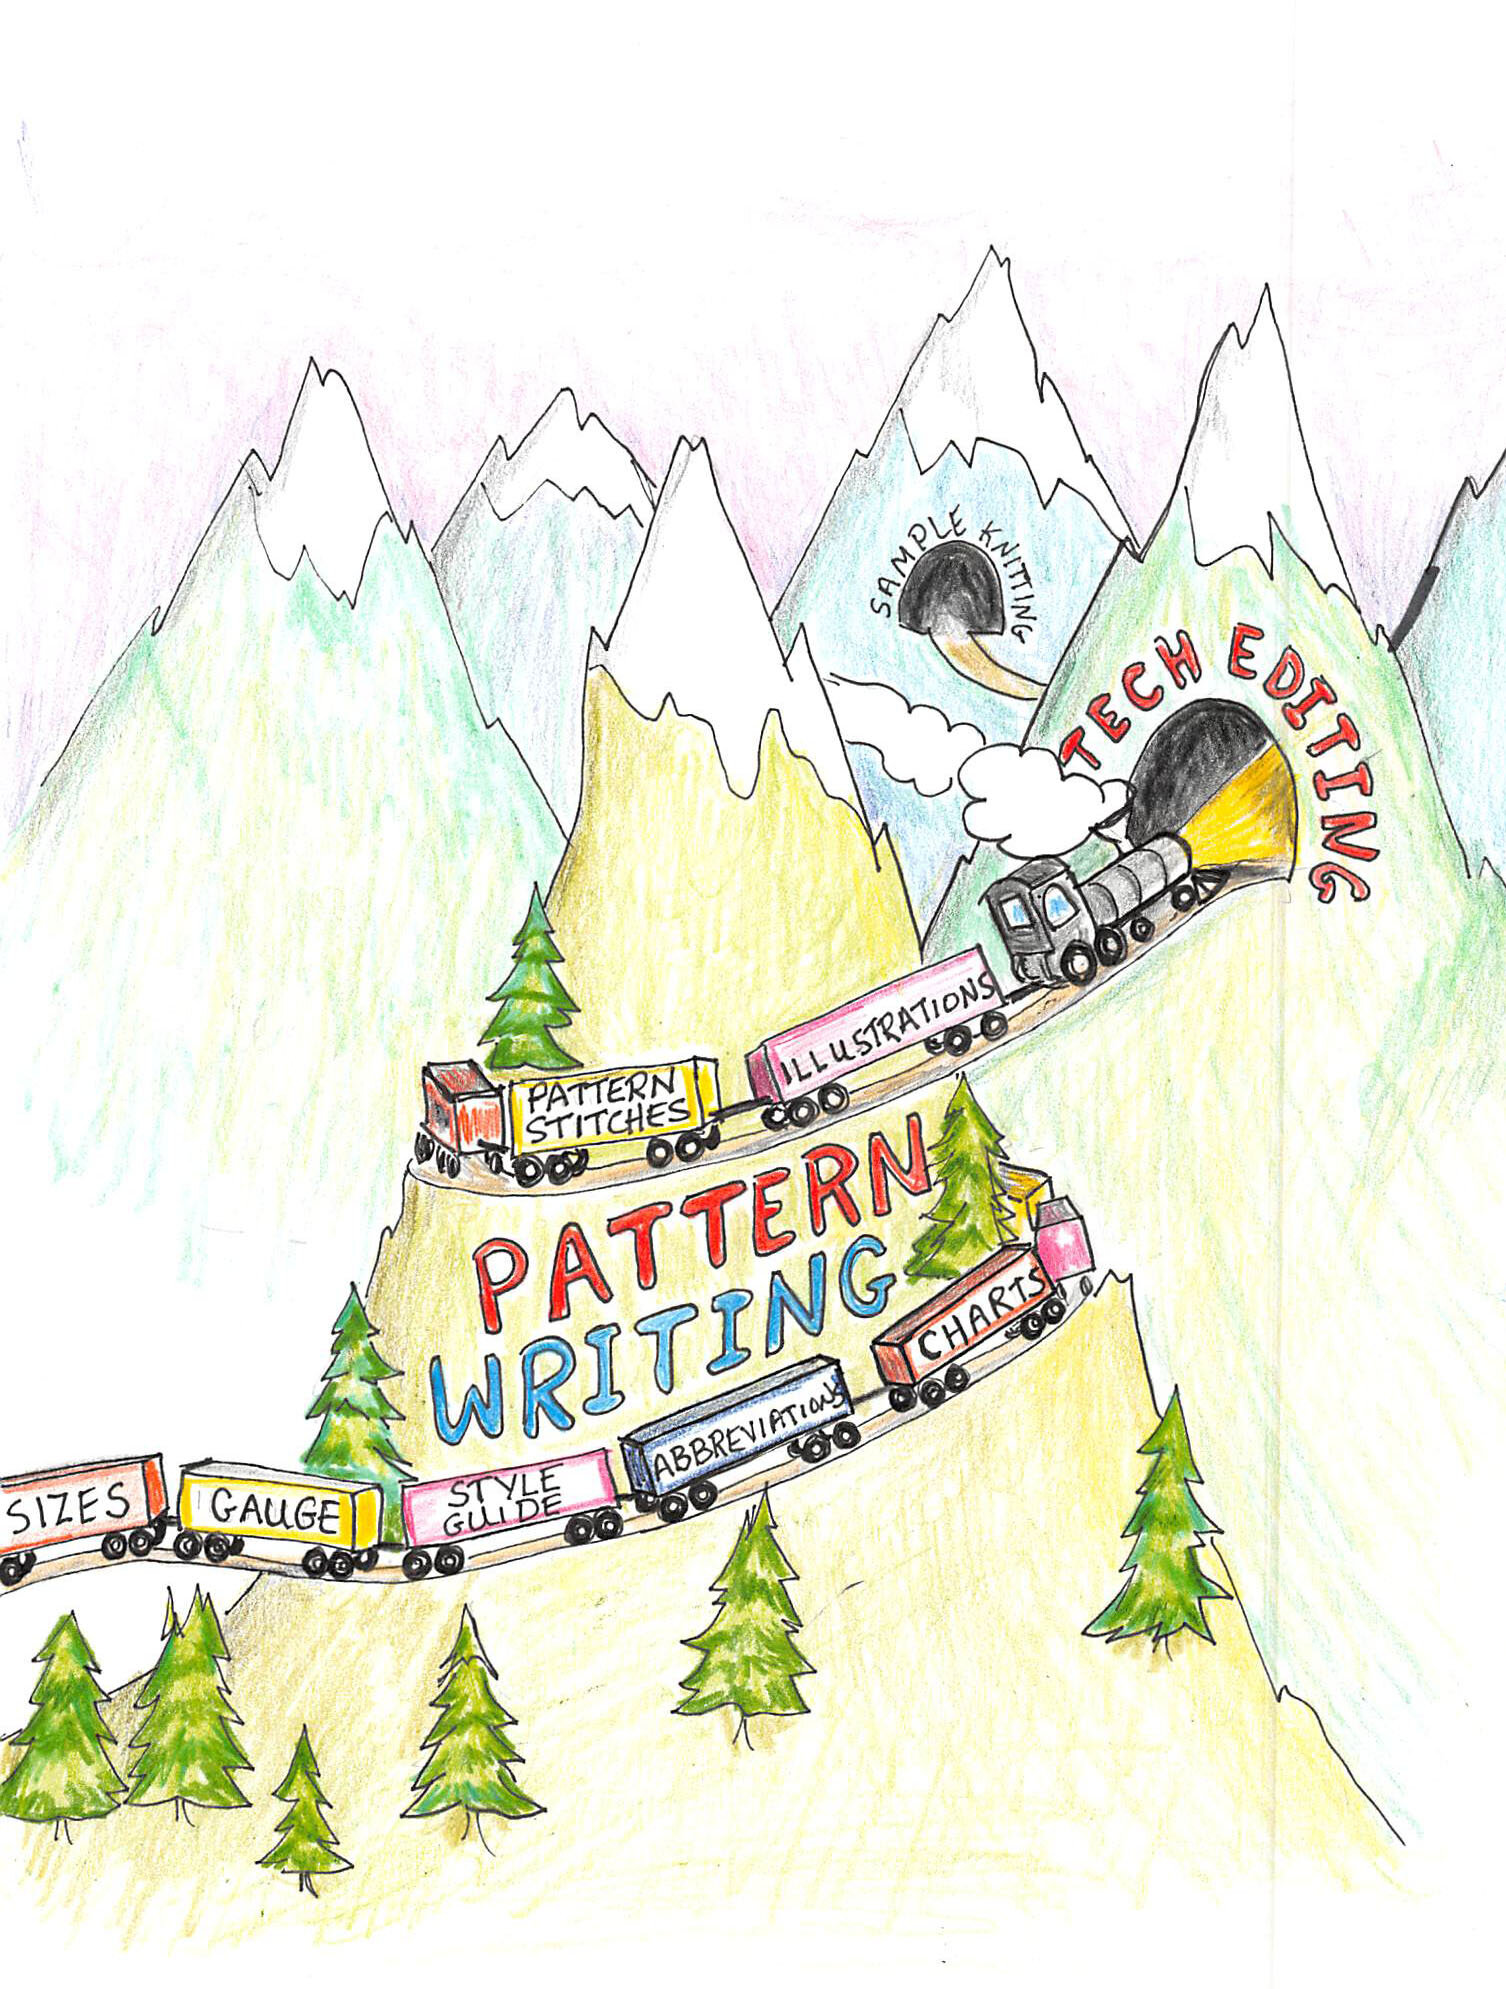
Figure 1: Pattern Writing doesn’t have to be an uphill battle
Pattern Organization
The pattern template I used for my book includes the sections listed in Figure 2, below.
Style Guide for Patterns
When I started the book knew I needed a Style Guide. As I was writing the first pattern, I thought about things like: how to label colors, what order to list colors in the Materials section, and how to express stitch counts. I looked at books and magazine patterns to see how these things were handled and compared options. There were a lot of things that could be standardized and I included as many of them as I could think of at this point. My Style Guide consisted of rules and if needed, examples of how rules were applied, and a justification. You can download my Style Guide here and use it as a starting point. The pattern template used in the Blanket Book is incorporated into the Style Guide, so some small changes will be needed to use the template for other knitted items.

Figure 2: Pattern Template
As more patterns were written more things were standardized, and sometimes rules were changed. Eventually the Style Guide became fairly long. I memorized most of it, but still needed to refer to the document.
Difficulty versus Skills Required
You may have observed that instead of a difficulty level the required skills are listed in my patterns. This is because knitters vary in which skills they know and enjoy using. In the sample knitting for my book I wanted to make sure that everyone was assigned the right blanket. So each prospective sample knitter filled out a skills survey. One thing I learned was that while they all could sew, there were some who didn’t want to or didn’t feel they were good at it, and others who liked the convenience of a take-along project and were very happy and at ease in working shapes and sewing them together.
Technical Editor
I want to mention technical editing up front because I had a technical editor on board from the beginning of the book. She gave feedback on the Style Guide and suggested additions, helped to formulate the template and gave valuable input on all my other early work products. This helped me avoid a lot of wrong turns and ensured that the two of us were “on the same page” from the very beginning of the project.
Computer Tools for developing a Pattern
I used two tools to boost productivity: Microsoft PowerPoint to draw the designs and document the geometry of the blankets, and Excel to perform calculations on gauge, geometry, stitch and row counts. In this way I omitted paper, pencil and calculator from the pattern writing process.
Pattern Illustrations
The patterns for the blanket book required illustrations to show the order of working pieces and how shapes connect. My publisher’ staff might need to alter my illustrations in Adobe Illustrator, but I preferred to work in PowerPoint. When I completed illustrations for a pattern, I saved the file in Scalable Vector Graphics (.svg) format, which can be read by Illustrator.
Symbols were used on the illustrations to show where techniques were to be applied. There were symbols for Pick up & knit, 3-needle bindoff, sewing lines, provisional cast-on, and others. The symbol definitions were placed in the front-matter of the book.
Knitting Charts
I am a big fan of charts generally, and I rely on them during pattern writing to get my pattern stitches, stitch counts and shaping correct. I use StitchMastery to develop charts and autogenerate text instructions that are the starting point for a pattern stitch. Although there are few charts in my blanket book (they don’t add value in this case) they were used extensively to develop pattern stitches for the blankets, and were tech edited to ensure they matched the text in the book. I have learned that a chart is worth a thousand words for me. I get questions from knitters about old patterns and have to relearn the pattern in order to answer. I almost always refer back to a chart for a quick refresher.
Knitting Abbreviations
I used the Craft Yarn Council’s list of standard knitting abbreviations as a starting point. That is, I would check their list first to see if they had an abbreviation for a particular stitch. If not, I would search the web and ask my technical editor for a suggestion. Over time, we built up the list of abbreviations for the book.
Gauge and Size
Gauge and Size are inter-related. This was something I knew but didn’t fully appreciate all the details of this when I started writing patterns. In the comments I got back from magazine technical editors they would point out to me that at the gauge I specified in the pattern, my Finished Objects (FOs) should have different overall dimensions than I had specified. This was because I wasn’t rounding my gauge at the right point in the calculations or in the correct way. I will expound upon this here because it took me a while to catch on to how to do this correctly.
As an example, consider a blanket from my book that has a border of 247 stitches (sts). What is the final measurement for this blanket? For the blankets in my book, I decided to express gauge as a whole number of stitches measured over 4 inches, and recorded this as a rule in the Style Guide. Normally 4-inch-gauge is expressed as either whole numbered stitches or stitches rounded to .5. Here is the stitch and row gauge for this blanket, expressed in the style required by the Style Guide:
16 sts x 32 rows = 4”/10cm
Per-inch-stitch-gauge is obtained by dividing 16 sts by 4 inches, which produces: 4 sts/inch. No rounding is needed in this case.
For this blanket with its 247 border stitches, the length of a side is obtained by dividing the number of stitches (247 sts) by the per-inch-stitch-gauge (4 sts/inch) which produces: 61.75”. Since my Style Guide says that the final blanket size needs to be expressed in inches to the nearest .5, this number needs to be rounded.
In Excel, rounding is done as follows:
=round((61.75*2,0)/2) #rounding to nearest .5
=round ((61.75*4,0)/4; #rounding to nearest .25
=round ((.61.75*8,0)/8 #rounding to nearest .125 (one-eighth)
and rounding to the nearest whole centimeter is (61.75 inches * 2.54 cm/inch = 156.8 cm) is:
=round(156.8,0) #rounding to the nearest whole number
So, in summary the correct approach to calculating final FO measurements from gauge is to:
Express the gauge as it will be given in the pattern (generally a whole number of sts or number rounded to nearest .5” measured over 4”/10 cm)
From the gauge derived in 1), calculate the per-inch-stitch-gauge that will be used in calculations. Round the per-inch-stitch-gauge to the nearest .25 if the 4 inch gauge is rounded to a whole number and to .125 if the 4 inch gauge is rounded to the nearest .5.
Determine the stitch or row count of the FO at the locations where a final measurement is needed, such as the border stitch count for a blanket, or the lower edge to armhole bind-off for a sweater, and divide the rows or stitches at this location by the per inch gauge to get the final measurement. Round these final measurements as required by your Style Guide for Finished Measurements.
Convert the final measurement to the alternate unit systems (i.e metric) and round this measurement as specified in your Style Guide. Again, I rounded FO measurements to nearest .5” for English units, and nearest whole cm for Metric units.
Next Post in this series: Technical Editing
Previous Post in this series: Getting Yarn Support